

Creating Christmas ornaments on wood is a fun and creative way to add a personal touch to your holiday decorations. This project allows you to use natural materials and customize your ornaments to match your home decor or personal style.
The process is straightforward and can be enjoyed by crafters of all ages. You can use various techniques such as painting, wood burning, or decoupage to create unique designs.
Creating a Cozy Holiday Atmosphere
Transforming your space into a festive haven can be achieved with simple yet beautiful decorations.
Wooden Christmas ornaments hanging from a rustic branch create a charming focal point.
The natural texture of wood combined with twinkling fairy lights adds warmth and a sense of nostalgia to your holiday decor.
Consider the soft glow of the lights reflecting off the handcrafted ornaments, enhancing the inviting ambiance of your home.
This combination not only beautifies your space but also evokes the spirit of the season.
Unique Designs for Personal Touch
Each ornament can tell a story through its unique design.
From painted snowflakes to festive trees, the possibilities are endless.
Personalized messages can also be incorporated, making each piece special and meaningful.
Engaging in this creative process allows you to express your individuality while celebrating the holiday spirit.
Whether you choose to paint, burn, or embellish, each ornament becomes a reflection of your personal style.
Materials to Get Started
Gathering the right materials is essential for crafting your ornaments.
You will need wood slices or pre-cut shapes, acrylic paint or wood stain, and paintbrushes.
If you want to add a rustic touch, a wood burning tool can be a great addition.
Don’t forget twine or ribbon for hanging, and consider using decorative elements like glitter or stickers for extra flair.
A clear sealer can also be applied to protect your creations for years to come.
Step-by-Step Crafting Process
Preparing your wood is the first step.
Ensure that any wood slices are sanded smooth and clean, ready for your artistic touch.
Sketching your designs beforehand can help visualize the final product.
Once your designs are ready, it’s time to paint or burn them onto the wood.
Allow your creations to dry completely before adding any embellishments.
Finally, attach a loop of twine or ribbon for easy hanging on your tree or around your home.
Time Commitment for Crafting
Setting aside time for this project can be a delightful experience.
Preparation may take about 30 minutes, while the crafting itself can take 1-2 hours, depending on the complexity of your designs.
Overall, you can expect to spend approximately 1.5 to 2.5 hours on this creative endeavor.
Engaging in this craft can be a wonderful way to bond with family and friends, creating lasting memories while making beautiful decorations.
Embracing the Holiday Spirit
Hanging your handcrafted ornaments on a rustic branch not only beautifies your space but also brings a sense of joy and celebration.
The soft glow of fairy lights enhances the charm of each ornament, creating a magical atmosphere.
This simple yet meaningful decoration can become a cherished part of your holiday traditions.
As you gather around your beautifully adorned tree, each ornament serves as a reminder of the creativity and love that went into making them.
This holiday season, let your decorations reflect your personal touch and the warmth of togetherness.
Simple Wooden Christmas Ornaments
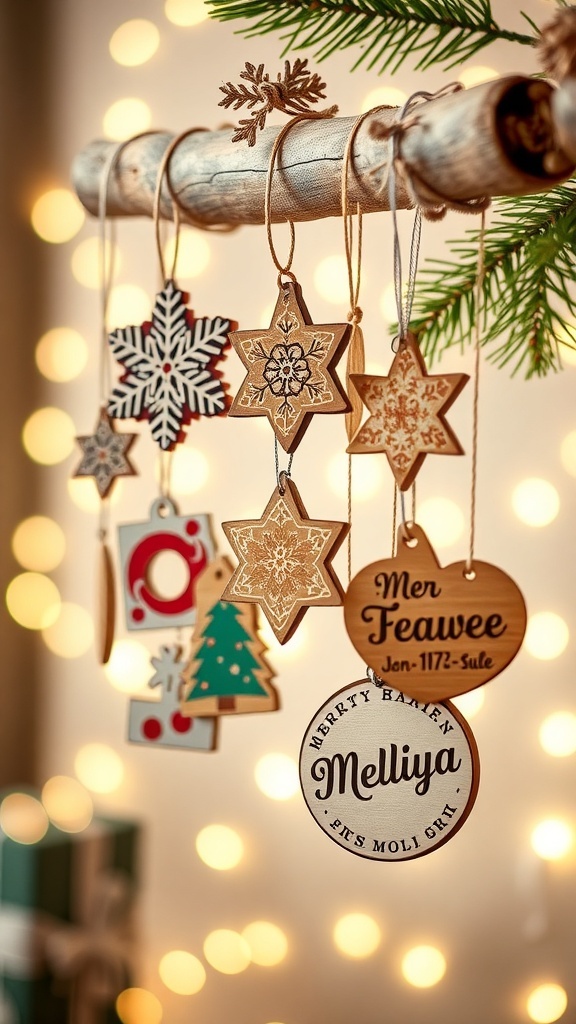
These DIY wooden ornaments can be made using slices of wood or wooden shapes. The project typically takes about 1-2 hours, depending on the complexity of your designs and drying time for paints or adhesives. You can create a variety of shapes, from traditional holiday symbols to personalized messages.