

Creating personalized Christmas ornaments with a Cricut machine is a fun and creative way to decorate your holiday tree. This project allows you to customize ornaments with unique designs, names, or special messages, making them perfect gifts or keepsakes.
The process is straightforward and requires basic materials like blank ornaments, vinyl, and your Cricut machine. You can choose from a variety of designs or create your own to match your holiday theme.
Creating Personalized Ornaments
Using a Cricut machine to craft Christmas ornaments offers a unique opportunity to personalize your holiday decorations.
With just a few materials, you can create stunning pieces that reflect your style or commemorate special moments.
From snowflakes to names, the possibilities are endless, making each ornament a special keepsake.
Materials Needed for Your Ornaments
To get started, gather the essential materials.
You’ll need a Cricut machine, which can be any model from the Explore, Maker, or Joy series.
In addition, vinyl sheets—either adhesive or heat transfer—are necessary, along with blank ornaments made of glass, plastic, or wood.
Don’t forget transfer tape, a weeding tool, scissors, and some ribbon or string for hanging your finished creations.
Having everything ready will streamline the crafting process and enhance your overall experience.
Designing Your Ornaments
The design phase is where your creativity shines.
Using Cricut Design Space, you can either create your own designs or select from a variety of pre-made options.
Incorporate text, images, or festive patterns that resonate with your holiday spirit.
Consider the colors and styles that will complement your tree and home decor.
This step is crucial for ensuring that your ornaments will stand out and bring joy during the festive season.
Cutting and Weeding the Vinyl
Once your designs are ready, it’s time to cut the vinyl.
Load your chosen vinyl into the Cricut machine and adjust the settings according to the type of vinyl you are using.
This step typically takes just a few moments, depending on the complexity of your designs.
After cutting, use a weeding tool to remove the excess vinyl, leaving only the desired design.
This process requires a bit of patience, but it’s essential for achieving a clean and professional look.
Applying Your Designs
Next, it’s time to transfer your designs onto the ornaments.
Cut a piece of transfer tape and place it over your vinyl design, pressing down firmly to ensure a good bond.
Carefully peel the vinyl from its backing and position it on your ornament.
Use a scraper tool to smooth out any bubbles and secure the vinyl in place.
This step is vital for ensuring that your design adheres well and looks polished.
Finishing Touches and Displaying Your Ornaments
After applying the vinyl, consider adding some finishing touches.
You can embellish your ornaments with glitter, paint, or additional decorations to make them even more festive.
Once complete, attach ribbon or string for hanging.
Display your beautifully crafted ornaments on your tree or around your home.
Surround them with twinkling lights and pine branches for a warm and inviting holiday atmosphere.
Easy Cricut Christmas Ornaments
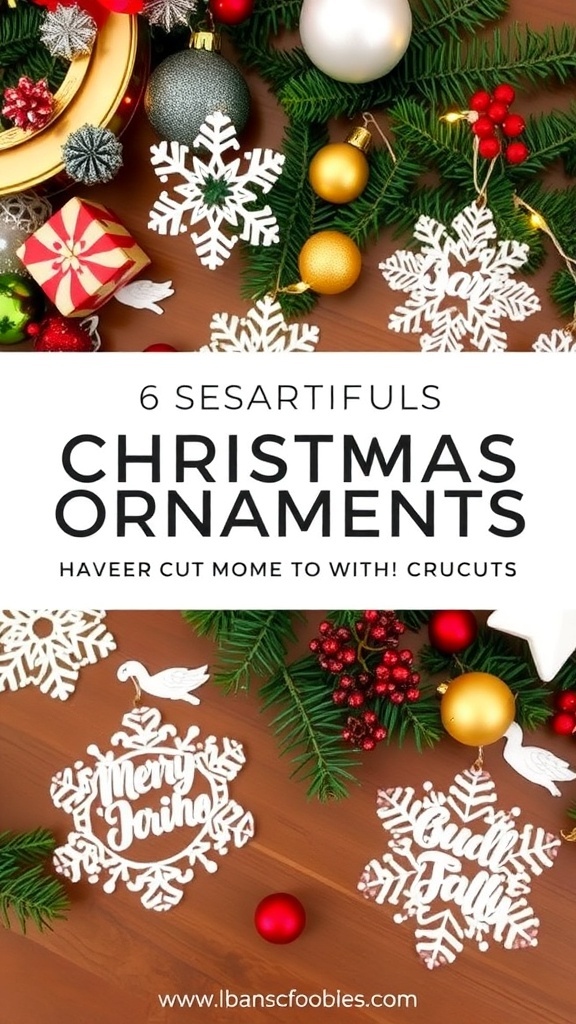
These DIY Christmas ornaments are made using a Cricut machine to cut vinyl designs that can be applied to clear or colored ornaments. The project typically takes about 1-2 hours, depending on the complexity of your designs, and can be customized to suit your style.