

This 3D paper tomato craft is a fun and creative project suitable for all ages. Using simple materials, you can create a realistic-looking tomato that can be used for decorations or educational purposes.
The project is straightforward and requires basic crafting skills. You can customize the size and color of the tomato to match your preferences.
Materials Needed for Your Craft
Gathering the right materials is essential for this vibrant 3D paper tomato craft. You’ll need red construction paper or cardstock to form the body of the tomato. This will provide the bright, eye-catching color that mimics a real tomato.
Next, green construction paper is required for the leaves. This adds a lovely contrast and completes the overall look of your creation. Don’t forget the basic tools: scissors for cutting, glue or tape for assembly, a pencil for drawing, and a ruler to ensure your shapes are precise.
Preparation Steps
Start by preparing the tomato shape. Use a pencil to draw a circle on the red paper, utilizing a round object as a template for accuracy. Once you have your circle, carefully cut it out. This will serve as the base for your 3D tomato.
Next, cut several strips of red paper, each about 1 inch wide and 6 inches long. These strips will form the body of the tomato. Fold each strip in half lengthwise to create a crease, which will help in shaping the tomato later on.
Assembling the Tomato
Now it’s time to assemble your tomato. Begin by gluing or taping the folded strips around the edge of the circle you cut earlier. Overlap the strips slightly to create a rounded shape, giving your tomato a three-dimensional appearance.
Continue this process until the entire circle is covered with the folded strips. This step is crucial for achieving that plump, juicy look associated with ripe tomatoes.
Creating the Leaves
While the body of the tomato is taking shape, it’s time to focus on the leaves. Cut out leaf shapes from the green construction paper. You can vary the sizes of the leaves to add a more realistic touch to your craft.
Once you have your leaves ready, arrange them on top of the tomato. This is where you can get creative! Glue the leaves in place, ensuring they are securely attached and positioned to your liking.
Final Touches and Display
After assembling the tomato and attaching the leaves, allow the glue to dry completely. This is an important step to ensure that your craft holds together well.
Once dry, your vibrant 3D paper tomato is ready for display! Place it on a wooden table or any surface that showcases its cheerful colors. This craft not only serves as a delightful decoration but can also be used for educational purposes, making it a versatile addition to any crafting collection.
Crafting Atmosphere
The environment in which you create can enhance your crafting experience. Surround yourself with crafting supplies like scissors, glue, and extra paper. This not only keeps everything organized but also adds to the cheerful atmosphere of your crafting session.
Consider playing some light music or inviting friends or family to join in on the fun. Crafting together can lead to shared creativity and laughter, making the process even more enjoyable.
Easy 3D Paper Tomato Instructions
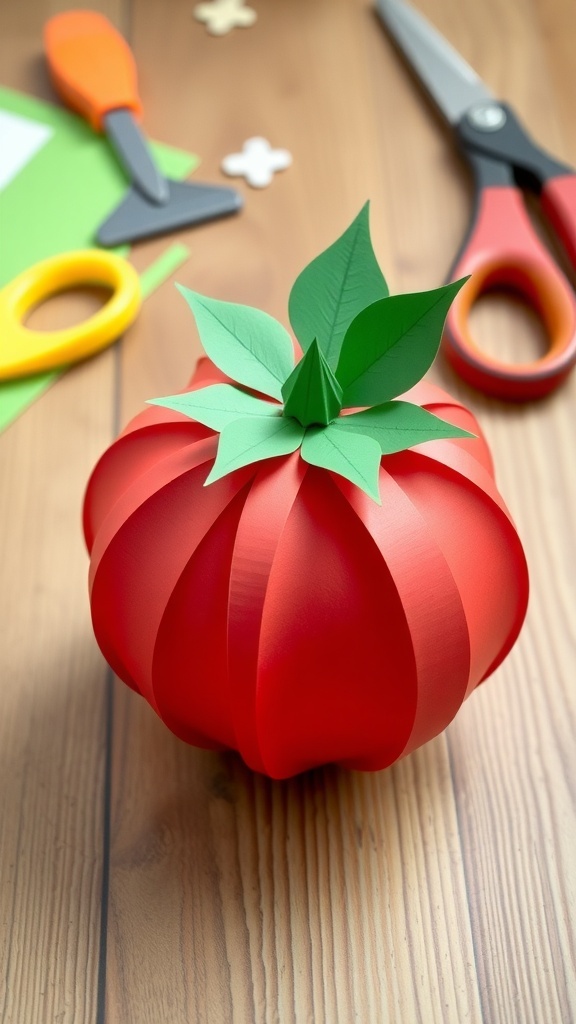
This paper tomato craft involves cutting, folding, and assembling paper pieces to form a three-dimensional tomato shape. The project takes about 30 minutes to complete and is perfect for classrooms or home crafting sessions.