

Capturing the beauty of Christmas ornaments can enhance your holiday photography. This guide provides practical tips for photographing ornaments, ensuring you achieve stunning results.
Whether you’re shooting indoors or outdoors, understanding lighting, composition, and camera settings will help you create memorable images of your festive decorations.
Creating the Perfect Setup
To capture stunning images of Christmas ornaments, start by selecting a location that offers ample natural light. A window with soft, diffused sunlight is ideal, as it enhances the colors and details of the ornaments.
Consider using a plain backdrop to keep the focus on the ornaments. A solid color or festive fabric can add a touch of holiday spirit without overwhelming the scene.
Arranging Your Ornaments
Position your ornaments thoughtfully to create visual interest. Vary the heights and angles of the ornaments to add depth to your composition.
Group ornaments of different sizes and designs together, showcasing their unique patterns and colors. This arrangement not only highlights the beauty of each piece but also creates a cohesive look.
Camera Settings for Optimal Results
Adjusting your camera settings is crucial for achieving high-quality images. Use a low ISO setting to minimize noise, which is especially important in low-light conditions.
A wide aperture will create a beautifully blurred background, allowing the ornaments to stand out. Experiment with shutter speed based on the available light to ensure your images are well-exposed.
Experimenting with Angles
Take the time to explore various angles and distances when photographing your ornaments. Shooting from above or at eye level can yield dramatically different results.
Don’t hesitate to get creative with your perspective. Sometimes, a close-up shot can reveal intricate details that might be missed from a distance.
Utilizing Reflectors for Enhanced Lighting
To further enhance the lighting in your photographs, consider using reflectors. A simple white poster board can effectively bounce light onto the ornaments, highlighting their colors and textures.
Position the reflector opposite your light source to fill in shadows and create a more balanced exposure. This technique can make a significant difference in the overall quality of your images.
Post-Processing for the Finishing Touch
After capturing your images, post-processing can elevate your photos to the next level. Use editing software to adjust brightness, contrast, and saturation to make the colors pop.
Cropping your images can also help focus attention on the ornaments, removing any distractions from the frame. A few simple adjustments can transform a good photo into a stunning one.
Tips for Stunning Christmas Ornaments Photography
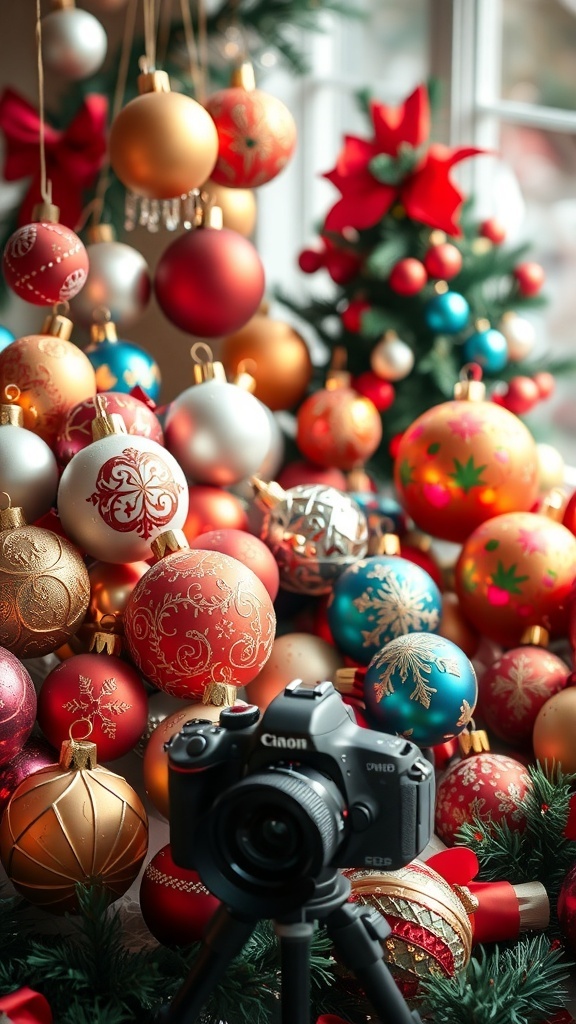
This guide covers essential techniques for photographing Christmas ornaments, including the use of natural light, creative angles, and post-processing tips. With the right approach, you can showcase the intricate details and vibrant colors of your ornaments beautifully.
Ingredients
- Camera (DSLR or mirrorless recommended)
- Tripod for stability
- Natural light source (window or outdoor light)
- Reflector or white poster board for bouncing light
- Backdrop (solid color or festive fabric)
- Editing software (optional for post-processing)
Instructions
- Choose Your Setup: Select a location with good natural light. Consider using a plain backdrop to avoid distractions.
- Position Your Ornaments: Arrange the ornaments in an appealing way. Use different heights and angles to create interest.
- Adjust Your Camera Settings: Use a low ISO for better quality, a wide aperture for a blurred background, and adjust the shutter speed according to the light conditions.
- Experiment with Angles: Take photos from various angles and distances to find the most flattering perspectives.
- Use Reflectors: Bounce light onto the ornaments to highlight their details and colors.
- Post-Process Your Images: Use editing software to enhance colors, adjust brightness, and crop your images as needed.
Cook and Prep Times
- Prep Time: 15 minutes
- Shooting Time: Varies based on setup
- Total Time: 1 hour
- Servings: N/A
- Calories: N/A