

This tutorial guides you through the process of creating a vibrant donut painting using acrylic paints. Perfect for beginners and experienced artists alike, this project combines fun and creativity.
You will learn techniques for blending colors, creating texture, and adding details to make your donut painting pop.
Creating Your Artistic Workspace
Setting the stage for your painting project is key to a successful experience.
A cozy studio filled with natural light can inspire creativity and make the process enjoyable.
Ensure your workspace is organized with all your materials within reach, including your canvas, paint tubes, brushes, and palette.
Consider using a sturdy table or easel to hold your canvas steady while you work.
A clean, uncluttered environment will help you focus on your artwork without distractions.
Gathering Your Materials
Before diving into your painting, it’s essential to gather all necessary materials.
You will need a canvas or acrylic paper as your base, along with a variety of acrylic paints to bring your donut to life.
Don’t forget your paintbrushes—both flat and round types will be useful for different techniques.
Having a palette for mixing colors, a water container for rinsing brushes, and paper towels for cleaning will streamline your process.
If you want to add some sparkle, consider optional embellishments like glitter.
Sketching Your Donut
Begin your artistic journey by lightly sketching the outline of a donut on your canvas with a pencil.
This initial step is crucial as it sets the foundation for your painting.
Keep your lines light so they can be easily painted over later.
Take your time with this part; a well-drawn outline will guide you as you add color and texture to your donut.
Once you’re satisfied with your sketch, you’re ready to move on to the base layer.
Applying the Base Layer
With your sketch in place, it’s time to paint the base layer of your donut.
Choose a light brown or beige to represent the dough of the donut.
Apply this color evenly across the entire donut shape, ensuring a smooth finish.
Allow this layer to dry completely before proceeding to the next step.
This drying time is important for achieving a clean application of the glaze.
Adding Glaze and Texture
Once the base layer is dry, it’s time to add the glaze.
Select a vibrant color for the glaze and apply it over the base layer, blending in lighter and darker shades to create depth.
This technique will give your donut a realistic, glossy appearance.
Use a round brush to dab on lighter and darker tones, creating texture that mimics the look of real frosting.
This step adds dimension and makes your painting visually appealing.
Finishing Touches with Sprinkles
The final step in your donut painting is to add sprinkles.
Using a small brush, paint colorful sprinkles on top of the glaze.
Feel free to mix and match colors for a fun, festive look.
Once you’re satisfied with your sprinkles, consider adding any final details or embellishments, like a touch of glitter for extra sparkle.
Allow your painting to dry completely before displaying it proudly in your home or gifting it to someone special.
Step-by-Step Donut Painting Guide
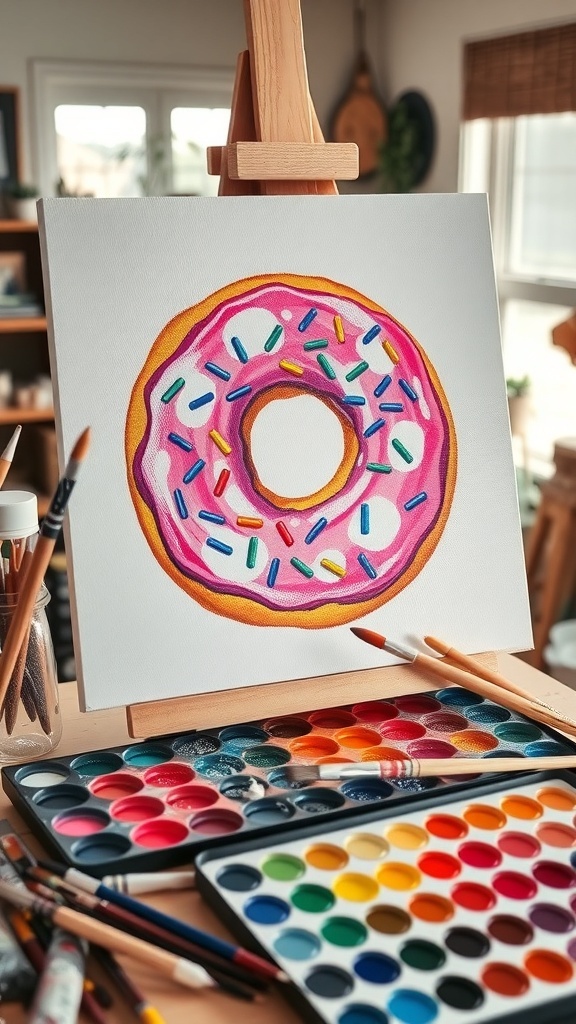
In this painting tutorial, you will create a delightful donut artwork featuring a colorful glaze and sprinkles. The project takes about 2 hours to complete and is suitable for all skill levels.