

Creating your own 1960s-inspired Christmas tree ornaments is a fun way to bring a vintage touch to your holiday decor. This era is known for its vibrant colors, unique shapes, and playful designs that can add a nostalgic charm to your tree.
The following instructions will guide you through making a variety of ornaments using simple materials that capture the essence of the 1960s.
Embracing Vintage Charm
The 1960s were a vibrant decade, characterized by bold colors and playful designs.
This era’s Christmas tree ornaments reflect that spirit, offering a delightful way to add a nostalgic touch to holiday decorations.
Handmade ornaments not only bring a personal flair to your tree but also evoke memories of simpler times, making them a cherished addition to any festive setting.
Materials for Your Ornaments
Creating these ornaments requires a few basic materials that are easy to find.
Felt in various colors serves as the primary medium, allowing for a range of creative expressions.
Sequins and beads add sparkle, while string or ribbon provides a way to hang your creations on the tree.
Gathering these items can be a fun prelude to the crafting process, setting the stage for a joyful holiday project.
Designing Your Ornaments
Choosing the shapes for your ornaments is an exciting part of the crafting experience.
Classic designs like stars, bells, and Christmas trees are perfect for capturing the essence of the 1960s.
Using cardboard templates makes it easy to trace and cut out your felt pieces, ensuring uniformity and precision in your designs.
Bringing Your Ornaments to Life
Once you have your felt pieces cut out, it’s time to decorate.
Using sequins, beads, and fabric paint, you can create unique patterns that reflect the playful aesthetic of the era.
This step allows for creativity to flourish, as each ornament can tell its own story through color and embellishment.
Assembling Your Masterpieces
After decorating, the assembly process begins.
Layer the decorated front piece on top of the plain back piece, securing the edges with a hot glue gun.
Leave a small gap for stuffing, which adds dimension and a plush feel to your ornaments.
Once stuffed, seal the gap with glue, ensuring your creation is ready for hanging.
Final Touches and Display
The last step involves adding a hanging string or ribbon to each ornament.
This detail not only allows for easy display on your tree but also enhances the overall aesthetic.
Once completed, these colorful ornaments can be proudly displayed, bringing a festive spirit to your home and sparking joy for all who see them.
Retro Christmas Ornaments Craft
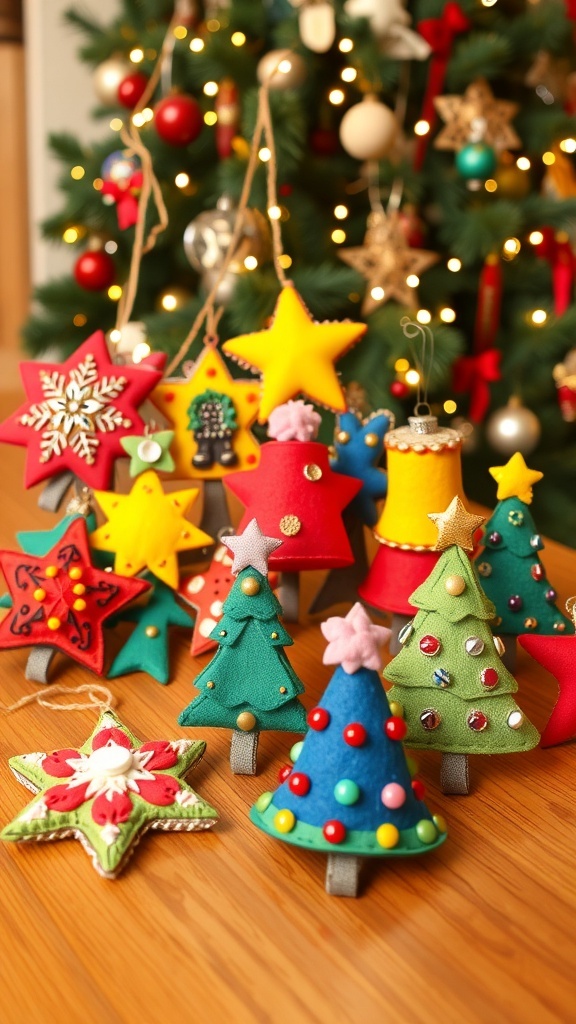
These DIY ornaments can be made using materials like felt, sequins, and beads, allowing you to customize them to fit your holiday theme. The project is suitable for all ages and can be a great family activity.