

Creating your own Christmas ornaments can add a personal touch to your holiday decorations. Using XTool, you can easily design and craft unique ornaments that reflect your style and creativity.
This guide will provide you with step-by-step instructions on how to use XTool for making beautiful ornaments that can be customized for gifts or your own tree.
Creating Unique Ornaments
Crafting your own Christmas ornaments offers a wonderful opportunity to express your creativity. With XTool, you can design stunning pieces that showcase your personal style.
From intricate snowflakes to personalized shapes, the possibilities are endless. Each ornament can become a cherished keepsake, adding a unique touch to your holiday decor.
Materials Needed for Your Ornaments
To get started, gather the necessary materials. You will need an XTool machine, which serves as both a laser cutter and engraver.
Choose your ornament material wisely; options include wood, acrylic, or cardstock. Each material brings its own charm to the finished product.
Additionally, have some sandpaper on hand for smoothing edges, along with paint or markers for decoration. String or ribbon will be essential for hanging your creations on the tree.
Step-by-Step Process
Begin by designing your ornament using compatible design software. This is where you can let your imagination run wild with shapes like stars and snowflakes.
Once your design is ready, prepare your chosen material. Make sure it fits within the working area of the XTool.
Next, set up the XTool by loading your design and adjusting the settings based on the material type. This ensures a smooth cutting and engraving process.
Cutting and Engraving Your Designs
With everything set up, start the XTool and watch as it brings your designs to life. Keep an eye on the process to ensure everything runs smoothly.
Once the cutting and engraving are complete, take a moment to admire your work. The intricate designs will surely impress!
Finishing Touches
After the cutting process, it’s time to finish the edges. Use sandpaper to smooth out any rough spots, giving your ornaments a polished look.
Now, let your creativity shine by decorating your ornaments. Use paint or markers to add vibrant colors and personal touches. Allow any paint to dry completely before moving on.
Hanging Your Ornaments
The final step is to attach string or ribbon to the top of each ornament. This will make it easy to hang them on your Christmas tree or anywhere else you wish to display them.
With your beautifully crafted ornaments ready, you can now enjoy the festive spirit they bring to your home. Each piece tells a story and adds warmth to your holiday celebrations.
Step-by-Step Guide to Making Christmas Ornaments with XTool
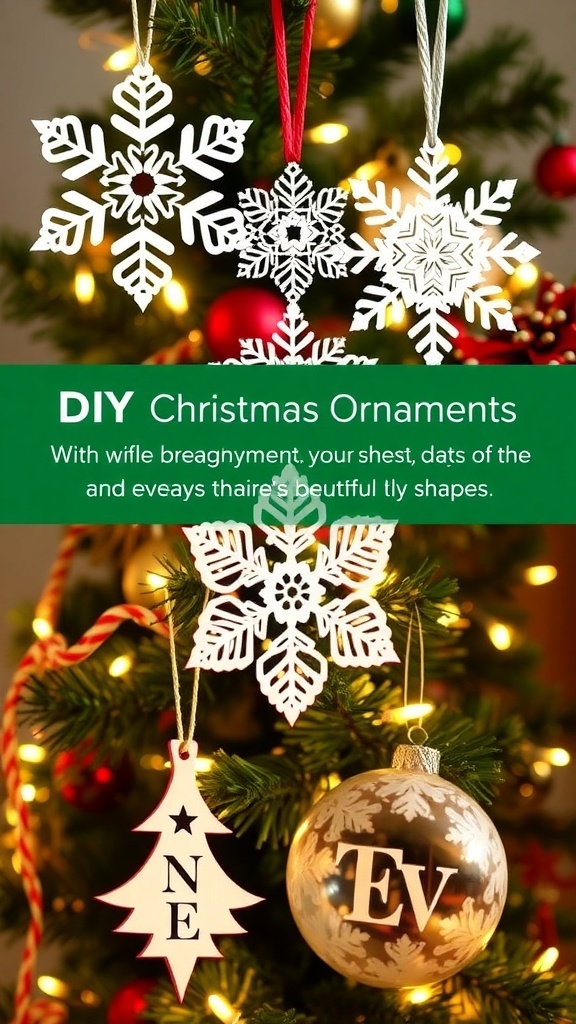
This project involves using XTool to cut and engrave materials like wood, acrylic, or cardstock to create stunning Christmas ornaments. The process is straightforward and can be completed in a few hours, depending on the complexity of your designs.