

Creating a donut necklace is a fun and creative project that allows you to express your style. This craft is perfect for both kids and adults, making it an enjoyable activity for all ages.
With simple materials and easy-to-follow steps, you can make a unique accessory that showcases your personality. Customize it with different colors and designs to match your wardrobe.
Crafting Your Own Donut Necklace
Creating a donut necklace is an engaging project that brings out your creativity.
This craft is suitable for all ages, making it a delightful activity for families or friends to enjoy together.
With just a few materials and straightforward steps, you can design a unique accessory that reflects your personal style.
Customization is key; feel free to experiment with various colors and designs to create a piece that complements your wardrobe perfectly.
Materials Needed for Your Necklace
Before diving into the crafting process, gather all the necessary materials.
You will need polymer clay or felt in a variety of colors, a necklace chain or cord, jump rings, and pliers.
If you choose to work with polymer clay, don’t forget a baking sheet and an oven for the baking process. For felt, scissors will be essential for cutting out your shapes.
Having everything ready will streamline your crafting experience and ensure that you can focus on creating your beautiful necklace.
Shaping the Donut Pendant
The first step in your crafting journey is shaping the donut.
If you’re using polymer clay, roll it into a ball and flatten it into a donut shape.
Make sure to create a hole in the center using a straw or your finger to give it that classic donut look.
If felt is your medium of choice, simply cut out two donut shapes along with a smaller circle for the center.
This step is where your creativity can shine, so don’t hesitate to play around with different sizes and colors!
Baking and Cooling the Pendant
If you opted for polymer clay, the next step is baking your shaped donut.
Place it on a baking sheet and follow the package instructions for baking time and temperature.
Once baked, allow the pendant to cool completely before moving on to the next step.
Cooling is crucial, as it ensures the pendant maintains its shape and is ready for assembly.
Assembling Your Necklace
With your donut pendant ready, it’s time to assemble your necklace.
Attach a jump ring to the hole in the donut, which will serve as the connection point for the chain.
Thread the necklace chain or cord through the jump ring, securing your pendant in place.
This step is simple yet satisfying, as you can see your creation come together!
Customization and Final Touches
Now that your necklace is assembled, consider adding some personal flair.
You can paint or decorate the donut with additional colors or embellishments to make it truly unique.
This is where you can let your imagination run wild, adding sprinkles or a glossy finish to mimic a real donut.
Once you’re happy with your design, your donut necklace is ready to wear.
Show off your handmade accessory and enjoy the compliments that come your way!
Simple Donut Necklace Tutorial
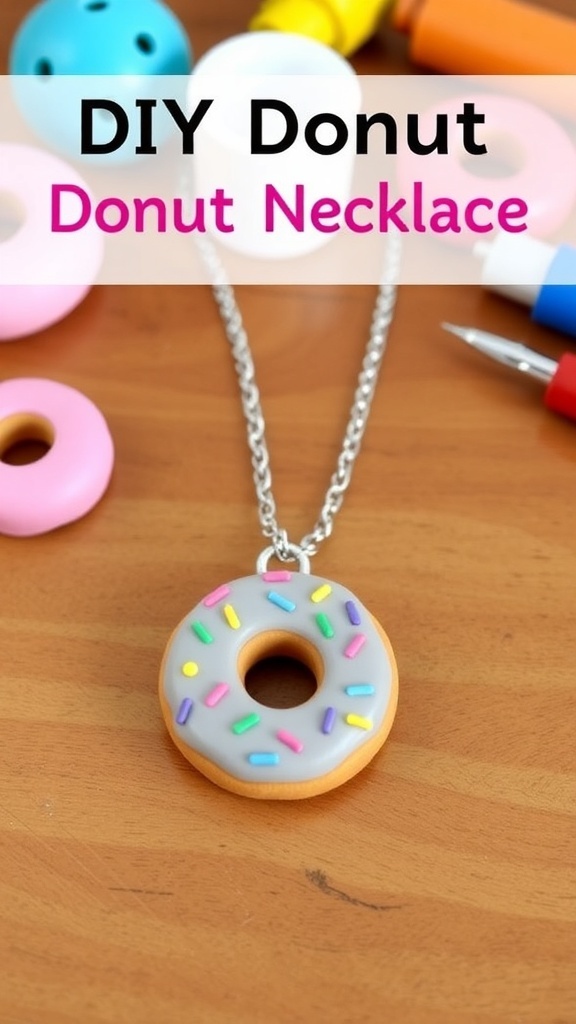
This DIY donut necklace involves making a donut-shaped pendant using polymer clay or felt, which is then strung onto a necklace chain. The project takes about 1 hour to complete and can be tailored to your preferences.