

This easy tomato drawing tutorial is perfect for beginners who want to learn how to sketch a simple yet recognizable tomato. With a few basic shapes and techniques, you can create a delightful representation of this popular fruit.
The tutorial focuses on straightforward steps that anyone can follow, making it accessible for all ages and skill levels.
Materials Needed for Your Tomato Drawing
Before you start your tomato drawing, gather the necessary materials. A few simple items will help you create your artwork.
You’ll need a pencil for sketching, an eraser for any adjustments, and a good quality piece of paper to work on. If you want to add some color to your tomato, colored pencils or markers can enhance your drawing.
Understanding the Basic Shapes
The key to drawing a tomato lies in recognizing basic shapes. Start by visualizing the tomato as a simple circle. This will form the main body of your fruit.
Next, think about the top of the tomato. An oval shape will represent the stem area. These foundational shapes will guide your drawing process, making it easier to achieve a recognizable result.
Step-by-Step Drawing Instructions
Begin with the circle for the tomato’s body. This is your starting point. Once you have that, add the small oval at the top to indicate where the stem will be.
From the oval, draw two short lines upwards to create the stem. This adds dimension to your drawing. Surround the stem with a few leaf shapes to give your tomato a natural appearance.
Outlining Your Tomato Drawing
Once you are satisfied with your sketch, it’s time to outline your drawing. Use a darker pencil or pen to go over the shapes you’ve created. This step will help define the tomato and make it stand out.
Take your time with this process, ensuring that the outlines are smooth and clear. A well-defined outline will enhance the overall look of your artwork.
Adding Color to Your Tomato
Now comes the fun part—coloring your tomato! Use red or pink colored pencils or markers to fill in the body of the tomato. This will bring your drawing to life.
For the leaves and stem, choose a vibrant green to contrast beautifully with the red tomato. This step is optional, but adding color can make your artwork even more appealing.
Final Touches and Displaying Your Artwork
After coloring, take a moment to review your drawing. You may want to add more details or shading for depth. Small adjustments can make a big difference in the final piece.
Once you’re happy with your tomato drawing, consider displaying it. Whether you frame it or share it with friends, showcasing your artwork can be a rewarding experience.
Step-by-Step Tomato Drawing
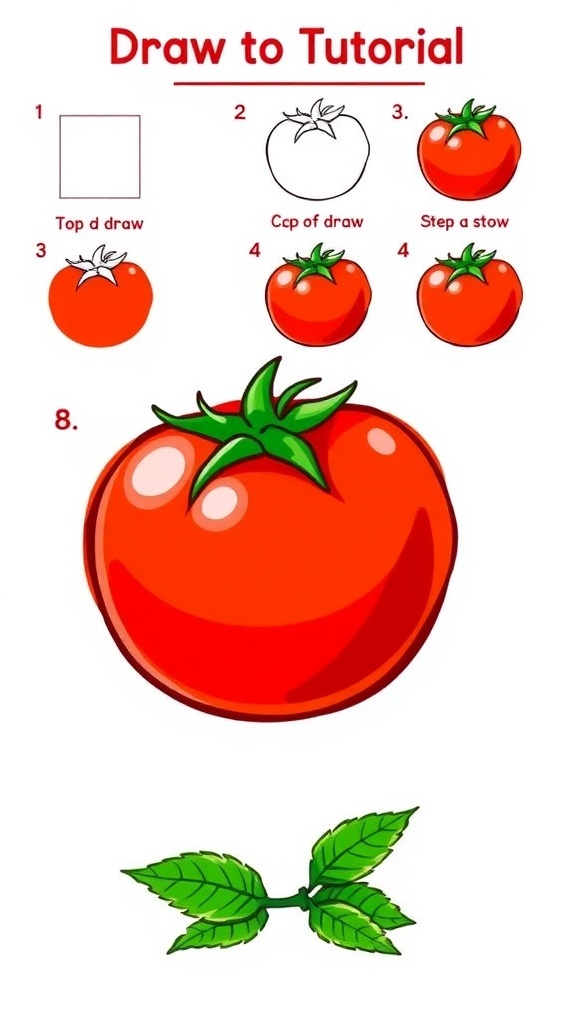
In this tutorial, you’ll learn to draw a tomato using simple shapes like circles and ovals. The process takes about 15-20 minutes, making it a quick and enjoyable activity.