

This tutorial guides you through the process of creating a linocut print featuring a tomato design. Linocut is a relief printing technique that allows for bold and expressive artwork.
You will learn about the materials needed, carving techniques, and printing methods to achieve a vibrant tomato print.
Understanding Linocut Printmaking
Linocut printmaking is a fascinating technique that allows artists to create striking images through a process of carving and inking. This method involves cutting into a linoleum block to create a relief image, which can then be inked and pressed onto paper.
The beauty of linocut lies in its ability to produce bold, graphic designs with rich textures. Artists often choose this medium for its versatility and the unique aesthetic it offers. The process can be both meditative and rewarding, allowing for a deep connection with the art being created.
Materials Needed for Your Tomato Print
To embark on your linocut journey, gather the necessary materials. You will need a linoleum block, linocut carving tools, and a brayer for inking. Choose either water-based or oil-based printing ink, along with high-quality paper for your final print.
Other essential items include a pencil for sketching your design, transfer paper for transferring your sketch onto the linoleum, and a baren or a clean flat surface to apply pressure during the printing process. Having these materials ready will set you up for success.
Sketching Your Tomato Design
The first step in creating your linocut print is to sketch your tomato design. Keep it simple, especially if you are new to this technique. Focus on capturing the essence of the tomato, emphasizing its round shape and glossy surface.
Once you are satisfied with your sketch, use transfer paper to trace your design onto the linoleum block. This step is crucial as it sets the foundation for your carving. Take your time to ensure accuracy, as this will impact the final print.
Carving the Linoleum Block
With your design transferred, it’s time to carve the linoleum. Use your linocut tools to carefully remove the areas of the block that you want to remain white in your print. This requires patience and precision, so take your time and be cautious.
As you carve, you will notice the intricate details of your design beginning to emerge. This part of the process is where your artistic vision truly comes to life. Remember to work slowly and check your progress frequently to avoid any mistakes.
Inking and Printing Your Artwork
After carving, the next step is inking the block. Use a brayer to apply a thin, even layer of printing ink to the carved linoleum. This step is vital for achieving a vibrant print, so ensure that the ink is evenly distributed.
Once your block is inked, carefully place your paper over it. Using a baren or a flat surface, apply even pressure to transfer the ink from the block to the paper. This is where the magic happens, as your tomato design begins to take shape on the page.
Revealing Your Linocut Print
After applying pressure, gently peel away the paper to reveal your tomato linocut print. This moment is always exciting, as you see the fruits of your labor come to life. Allow your print to dry completely before handling it further.
With your vibrant tomato print complete, you can admire the rich textures and bold colors that linocut printing offers. This technique not only showcases your artistic skills but also captures the essence of the tomato in a unique and expressive way.
Step-by-Step Tomato Linocut Tutorial
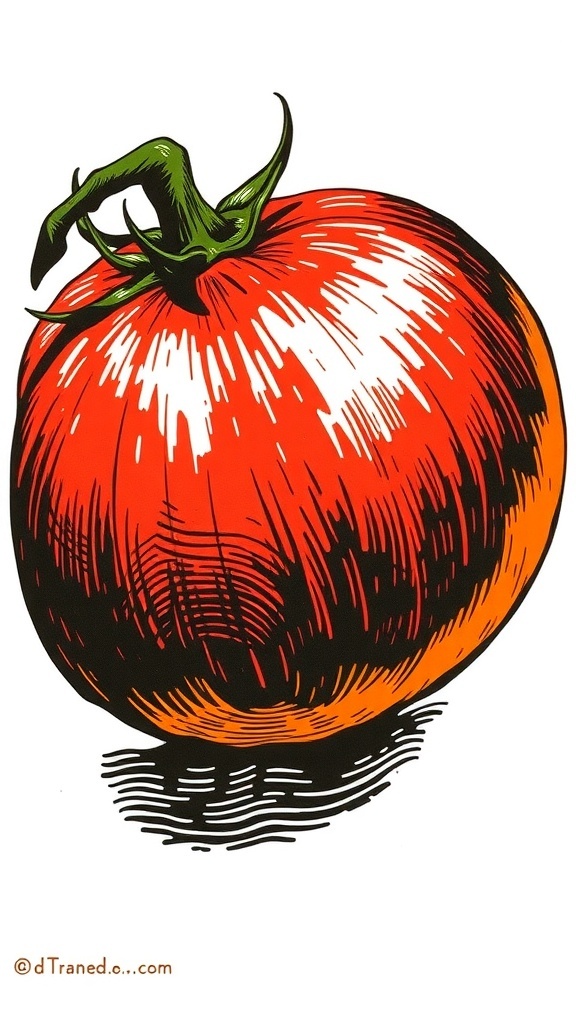
In this linocut tutorial, you will create a striking tomato design that showcases the beauty of this popular fruit. The process involves sketching your design, transferring it to linoleum, carving, inking, and finally printing your artwork.