

Creating vintage-style Christmas ornaments is a delightful way to add a personal touch to your holiday decor. These ornaments can be made using various materials, allowing you to customize them to fit your festive theme.
This recipe outlines the steps to craft beautiful vintage ornaments that evoke nostalgia and charm. You can use materials like glass, wood, or paper to create unique pieces that will be cherished for years.
Creating a Festive Atmosphere
Transforming your home into a cozy holiday retreat can be achieved with the right decorations. Vintage Christmas ornaments add a touch of nostalgia and charm, making your space feel warm and inviting.
Imagine a rustic wooden table adorned with intricate ornaments, surrounded by lush pine branches and twinkling fairy lights. This setup creates a magical ambiance, perfect for celebrating the season with family and friends.
Choosing the Right Materials
When crafting vintage ornaments, selecting the right materials is essential. Clear glass or plastic ornaments serve as the perfect base for your creative designs. You can personalize them with acrylic paints in muted vintage colors, such as gold, silver, and deep reds or greens.
Adding elements like glitter, sequins, or even decoupage with old book pages can enhance the vintage feel. Ribbons or twine for hanging will complete the look, allowing your ornaments to shine on the tree or as part of your holiday decor.
Step-by-Step Crafting Process
Start by preparing your ornaments. If you’re using glass, carefully remove the tops, ensuring they are clean and dry. For plastic ornaments, a quick wash will suffice.
Next, paint the base of your ornaments in your chosen colors. Allow them to dry completely before adding any additional designs. This is where you can let your creativity flow, using muted colors and simple patterns to achieve that vintage aesthetic.
Adding Unique Touches
To further personalize your ornaments, consider using decoupage techniques. Cut out shapes or images from old book pages or sheet music, and apply them to the ornament with a thin layer of glue. Seal the cutouts with another layer of glue for durability.
Once your designs are complete and dry, reattach the tops of the ornaments or close the plastic ones. Tie ribbons or twine through the tops for easy hanging, ensuring they are ready to adorn your tree or home.
Finishing Touches for Durability
For those looking to preserve their creations, a clear sealant spray can be applied to protect the ornaments from wear and tear. This step is optional, but it can help maintain the beauty of your vintage designs for years to come.
With your ornaments complete, you can now display them proudly on your tree or around your home, adding a personal touch to your holiday celebrations.
Creating Lasting Memories
Crafting vintage Christmas ornaments is not just about decoration; it’s an opportunity to create lasting memories with loved ones. Gather friends or family for a crafting session, sharing stories and laughter as you work together.
These handmade ornaments will not only beautify your space but will also serve as cherished keepsakes, reminding you of the joyful times spent together during the holiday season.
DIY Vintage Christmas Ornaments
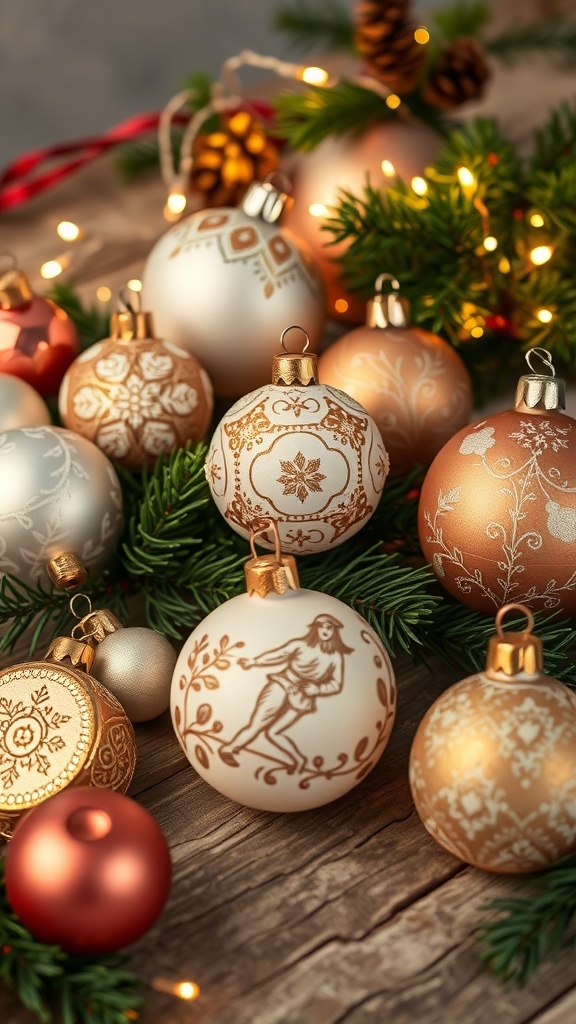
This craft project focuses on making vintage-inspired Christmas ornaments that can be hung on your tree or used as festive decorations around your home. The process is enjoyable and can be completed in a few hours, making it a perfect holiday activity.