

Create beautiful and personalized Christmas ornaments using vinyl. This simple DIY project allows you to customize your holiday decorations with your favorite designs, colors, and themes.
Whether you’re a crafting novice or an experienced DIYer, these vinyl ornaments are a fun way to add a personal touch to your Christmas tree.
Creating Your Own Vinyl Christmas Ornaments
Crafting personalized Christmas ornaments can be a delightful way to celebrate the holiday season. Using clear glass ornaments and colorful vinyl, you can design unique decorations that reflect your style and festive spirit.
This project is suitable for all skill levels, making it a perfect family activity. Gather your loved ones and enjoy the process of creating beautiful ornaments that will adorn your Christmas tree for years to come.
Materials Needed for Your Ornaments
To get started, gather the essential materials. You will need clear or colored glass ornaments as your base. These can be found at craft stores or online.
Next, choose adhesive vinyl in various colors to bring your designs to life. A cutting machine can make the process easier, but scissors or a craft knife will work just as well if you prefer hand-cutting.
Other helpful tools include transfer tape for applying your designs, a weeding tool for removing excess vinyl, and ribbon or string for hanging your finished ornaments on the tree.
Designing Your Ornaments
Begin by preparing your designs. Popular choices include festive phrases, intricate snowflakes, or even personalized names. The beauty of this project lies in its versatility; you can tailor your designs to match your holiday theme or color scheme.
Once your designs are ready, carefully weed the vinyl to eliminate any unwanted pieces, leaving only the desired pattern on the backing. This step is crucial for achieving a clean and polished look.
Applying the Vinyl to the Ornaments
With your design weeded, it’s time to apply the transfer tape. Cut a piece slightly larger than your design and press it firmly over the vinyl. This will help you transfer the design onto the ornament without any hassle.
Next, peel the backing off the vinyl and position the design onto the ornament. Press down firmly to eliminate air bubbles, ensuring a smooth application. Once satisfied, slowly remove the transfer tape, revealing your beautiful vinyl design on the ornament.
Finishing Touches
To complete your ornament, cut a length of ribbon or string and tie it securely to the top. This will allow you to hang your creations on the tree with ease.
Consider mixing and matching different designs and colors to create a cohesive yet varied look on your Christmas tree. Each ornament can tell a story, making your holiday decor even more special.
Creating a Festive Atmosphere
Once your ornaments are finished, hang them on your Christmas tree, surrounded by twinkling lights. The combination of clear glass and colorful vinyl will create a stunning visual effect, enhancing the festive atmosphere in your home.
Invite friends and family to admire your handiwork, and share the joy of your personalized decorations. These DIY ornaments not only add charm to your holiday decor but also serve as cherished keepsakes for years to come.
Simple Vinyl Christmas Ornaments
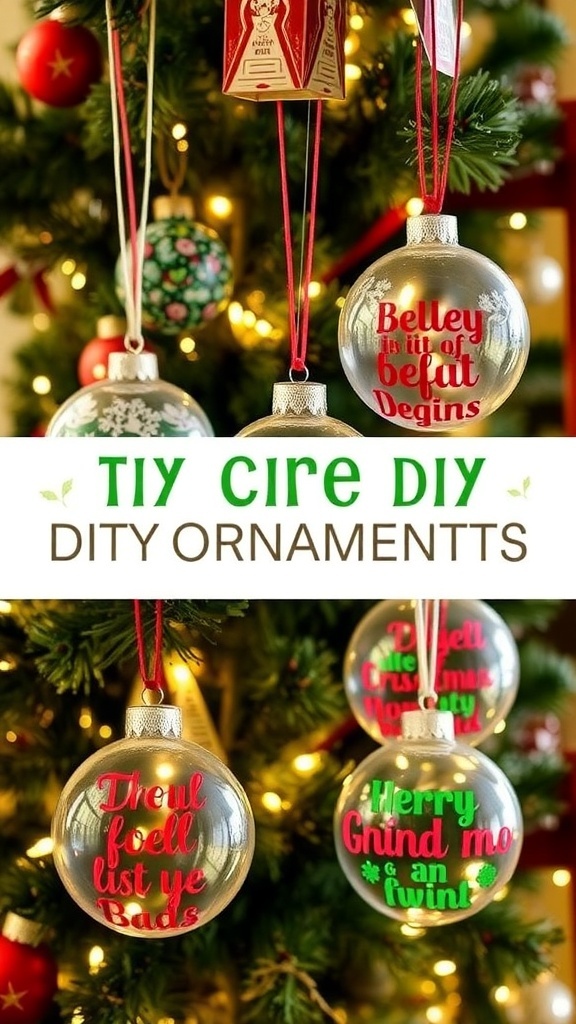
These DIY Christmas ornaments are made by applying vinyl designs onto clear or colored ornaments. The project takes about an hour to complete and can be tailored to suit any holiday theme or color scheme.
Ingredients
- Clear or colored glass or plastic ornaments
- Adhesive vinyl in various colors
- Transfer tape
- Weeding tool
- Scissors or craft knife
- Cutting machine (optional) or stencil for hand cutting
- Ribbon or string for hanging
Instructions
- Prepare Your Design: Use a cutting machine or scissors to create your desired vinyl designs. Popular options include holiday phrases, snowflakes, or personalized names.
- Weed the Vinyl: Carefully remove the excess vinyl around your design using a weeding tool, leaving only the design on the backing.
- Apply Transfer Tape: Cut a piece of transfer tape slightly larger than your design. Place it over the vinyl design and press down firmly to adhere.
- Transfer to Ornament: Peel the backing off the vinyl and position the design onto the ornament. Press down firmly, ensuring there are no air bubbles.
- Remove Transfer Tape: Slowly peel away the transfer tape, leaving the vinyl design on the ornament.
- Add Hanging Ribbon: Cut a length of ribbon or string and tie it to the top of the ornament for hanging.
Cook and Prep Times
- Prep Time: 15 minutes
- Craft Time: 45 minutes
- Total Time: 1 hour
- Servings: Varies based on the number of ornaments made