

This 7-Up pie crust is a unique and easy-to-make pastry that incorporates the fizzy soda for a light and flaky texture. Perfect for both sweet and savory pies, this crust is a great alternative to traditional pie dough.
The recipe is simple and requires minimal ingredients, making it accessible for bakers of all skill levels. You can use it for fruit pies, quiches, or any filling of your choice.
Understanding the Unique Ingredients
The 7-Up pie crust stands out due to its incorporation of a fizzy soda, which contributes to its light and flaky texture.
Using just a few simple ingredients—flour, butter, salt, and 7-Up—this recipe is both accessible and straightforward.
The combination of butter and soda creates a tender pastry that can elevate both sweet and savory dishes.
Preparation Steps for Success
Preparing the pie crust is a quick process that takes about 15 minutes, followed by a chilling period.
Start by mixing the dry ingredients in a large bowl, ensuring that the flour and salt are well combined.
Next, cut in the softened butter until the mixture resembles coarse crumbs, which is key to achieving that flaky texture.
The Role of 7-Up in the Crust
Adding 7-Up is what truly sets this crust apart.
The carbonation in the soda helps to create air pockets in the dough, resulting in a lighter crust when baked.
It’s essential to mix gently after adding the soda to avoid overworking the dough, which can lead to a denser texture.
Chilling and Rolling Out the Dough
After mixing, divide the dough into two disks and wrap them in plastic wrap.
Chilling the dough for at least 30 minutes allows the gluten to relax, making it easier to roll out later.
When ready, roll out the dough on a floured surface to fit your pie dish, ensuring an even thickness for optimal baking.
Filling Options and Baking Tips
This versatile crust can be used for a variety of fillings, from fresh fruit to creamy quiches.
Once filled, bake according to your specific pie recipe instructions for the best results.
Keep an eye on the crust while baking; it should turn a beautiful golden brown, indicating that it’s ready to be enjoyed.
Serving Suggestions and Pairings
Once your pie is baked, consider serving it with a scoop of ice cream or a dollop of whipped cream for a delightful contrast.
Fresh fruits in the background not only enhance the visual appeal but also provide a refreshing complement to the rich flavors of the pie.
This 7-Up pie crust is sure to impress, whether you’re hosting a gathering or enjoying a quiet evening at home.
Easy 7-Up Pie Crust Recipe
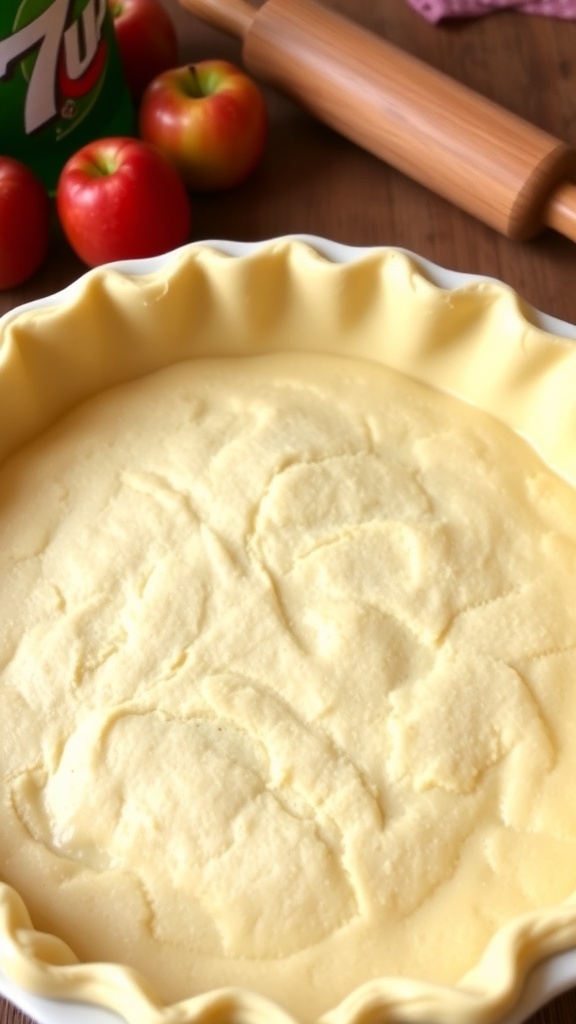
This pie crust features a delightful combination of flour, butter, and 7-Up soda, resulting in a tender and flaky pastry. The recipe takes about 15 minutes to prepare and can be used immediately or refrigerated for later use.
Ingredients
- 2 cups all-purpose flour
- 1/2 cup unsalted butter, softened
- 1/2 cup 7-Up soda
- 1 teaspoon salt
Instructions
- Mix Dry Ingredients: In a large bowl, combine the flour and salt.
- Cut in Butter: Add the softened butter to the flour mixture and use a pastry cutter or your fingers to combine until the mixture resembles coarse crumbs.
- Add 7-Up: Pour in the 7-Up soda and gently mix until the dough comes together. Be careful not to overmix.
- Form the Dough: Divide the dough in half, shape each half into a disk, and wrap in plastic wrap. Refrigerate for at least 30 minutes before rolling out.
- Roll Out: On a floured surface, roll out one disk of dough to fit your pie pan. Transfer to the pan and trim the edges as needed.
- Fill and Bake: Add your desired filling and bake according to your pie recipe instructions.
Cook and Prep Times
- Prep Time: 15 minutes
- Chill Time: 30 minutes
- Total Time: 45 minutes
- Servings: 2 crusts
- Calories: 150kcal
- Fat: 7g
- Protein: 2g
- Carbohydrates: 20g